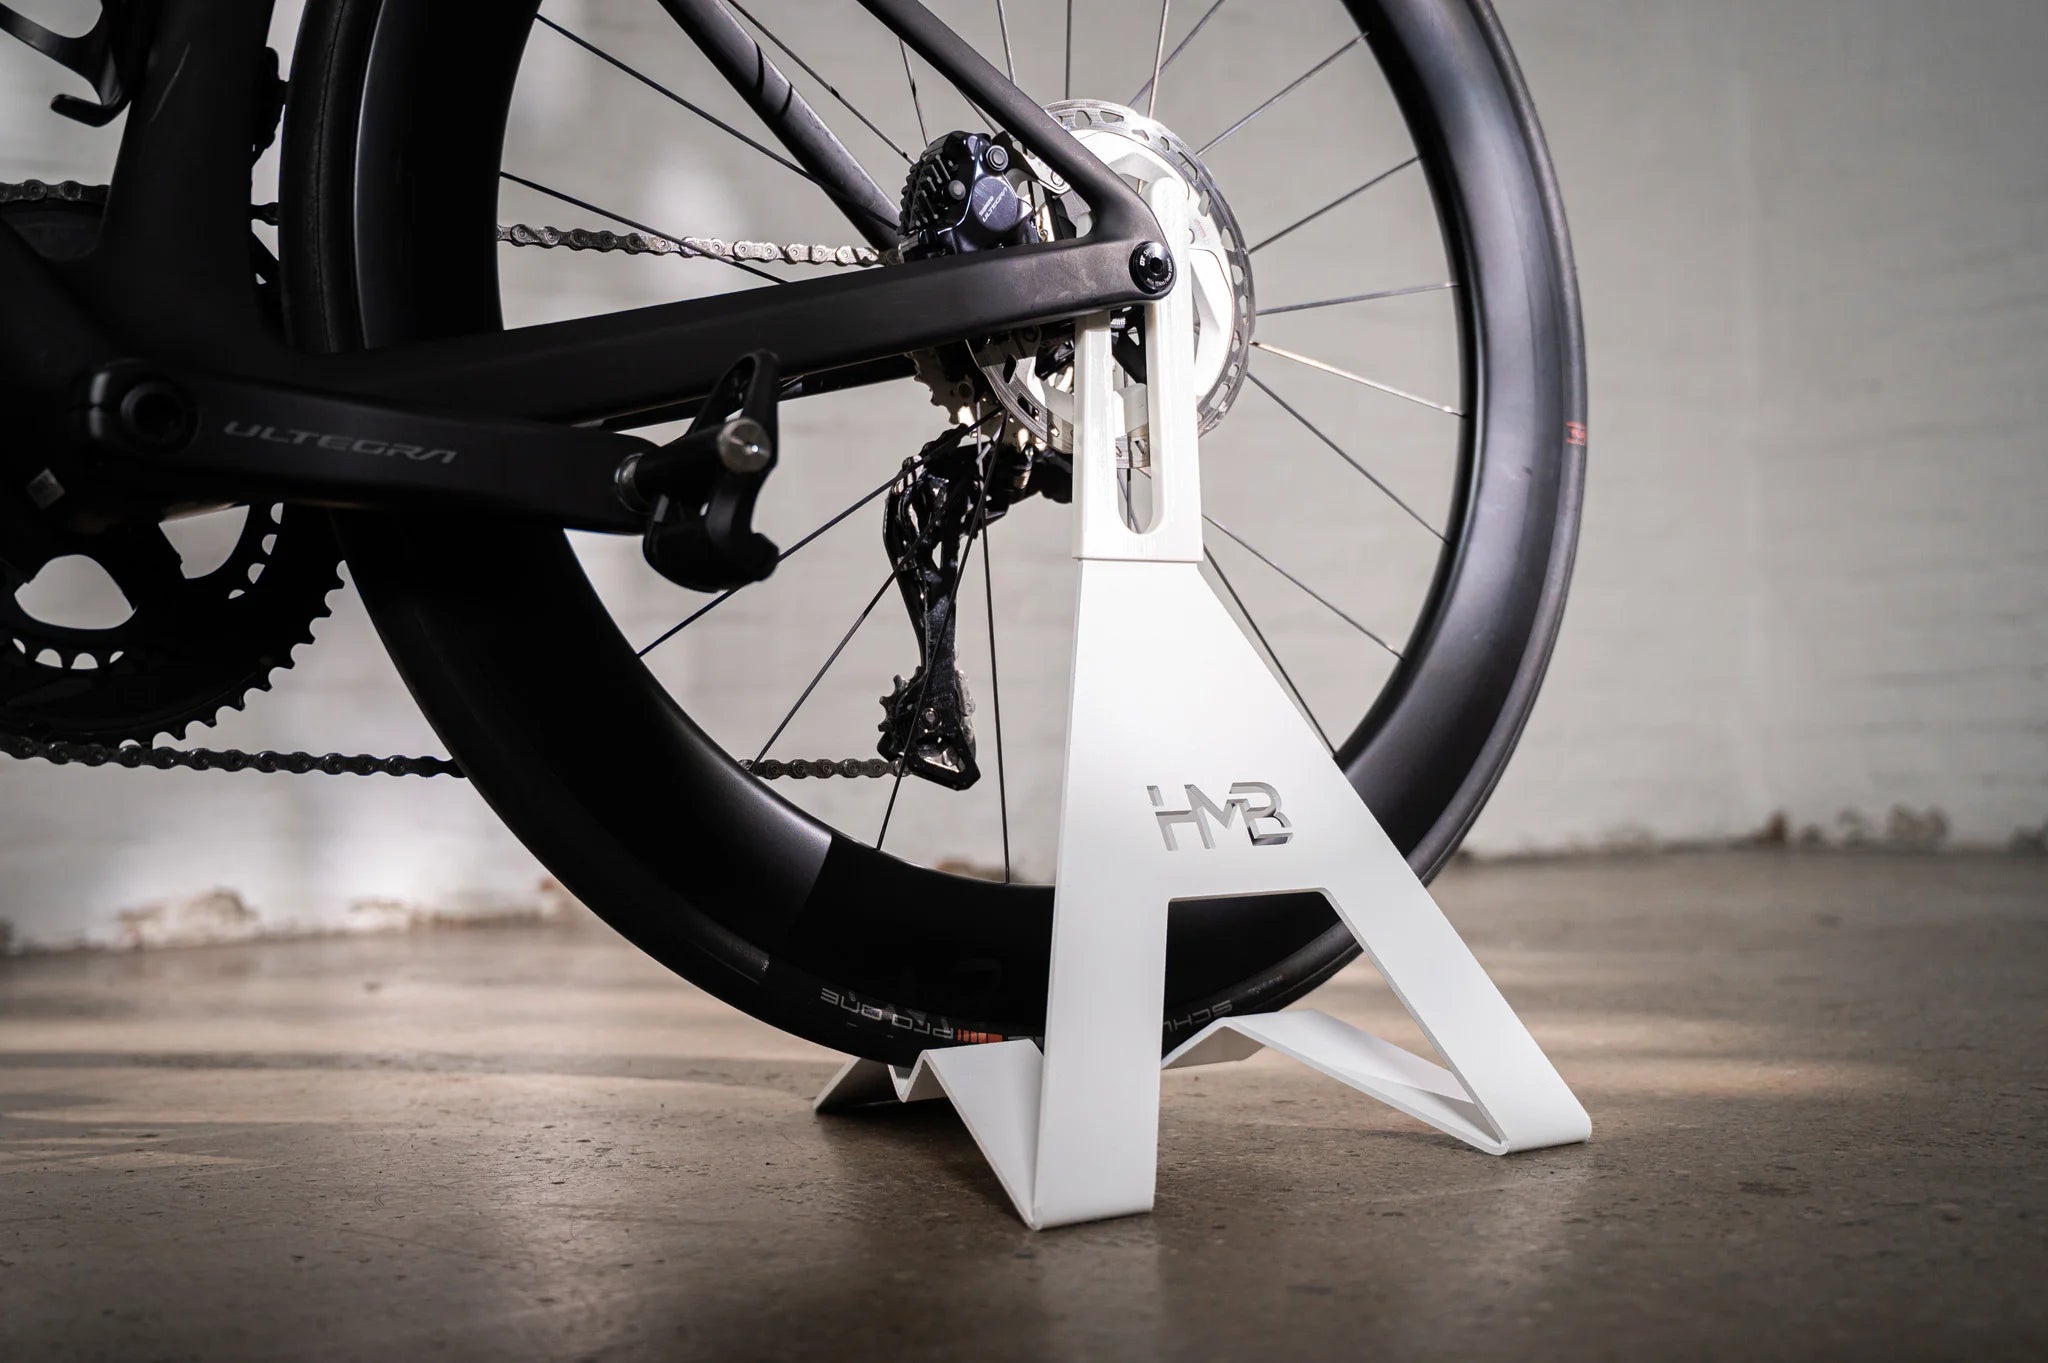
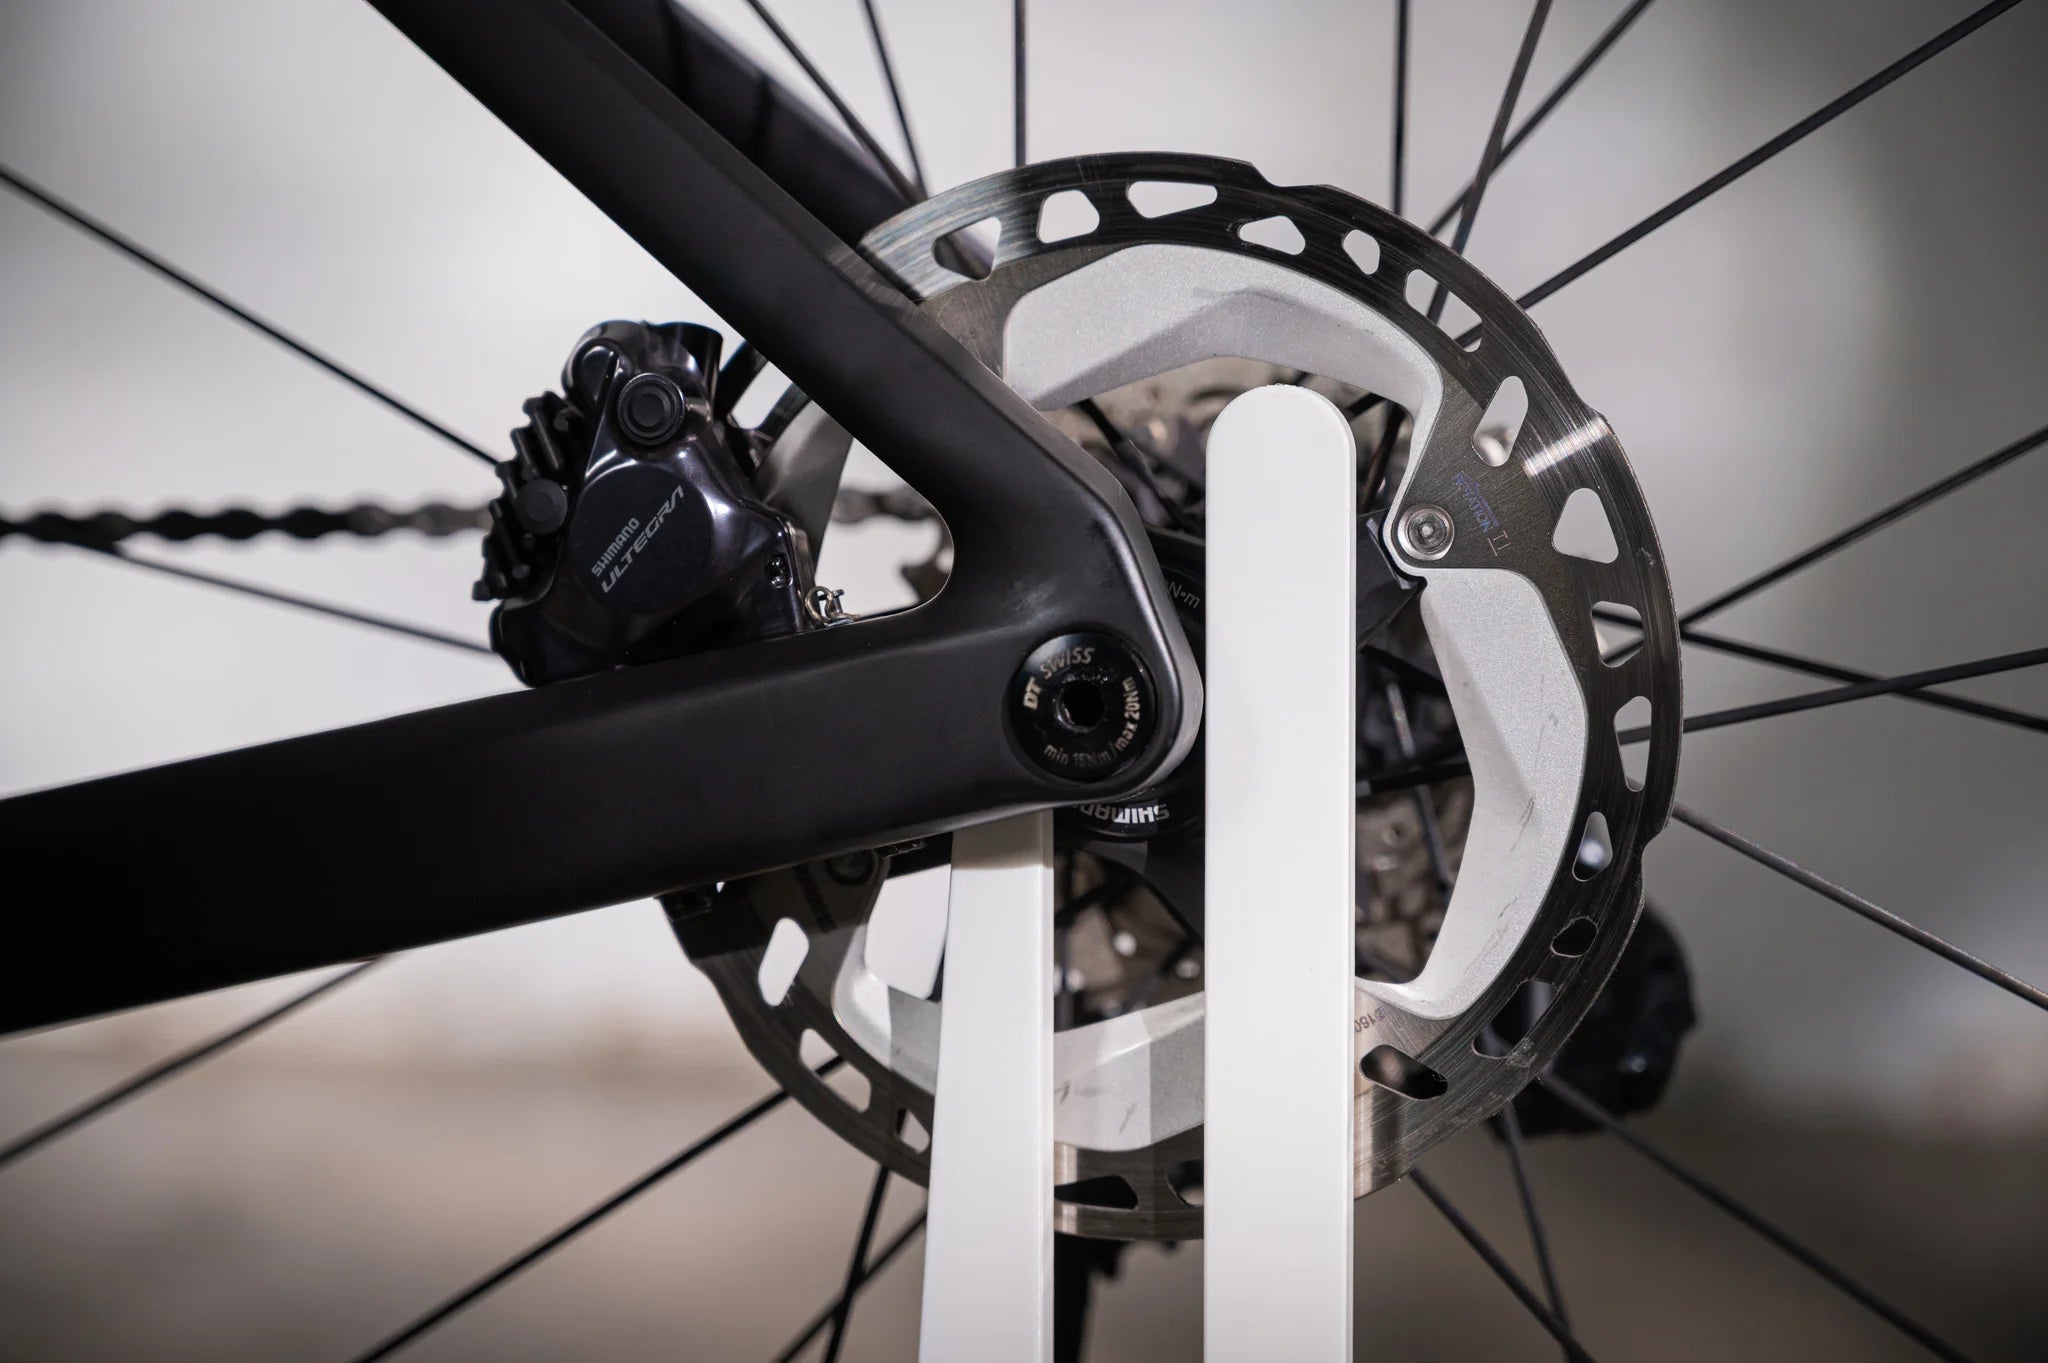
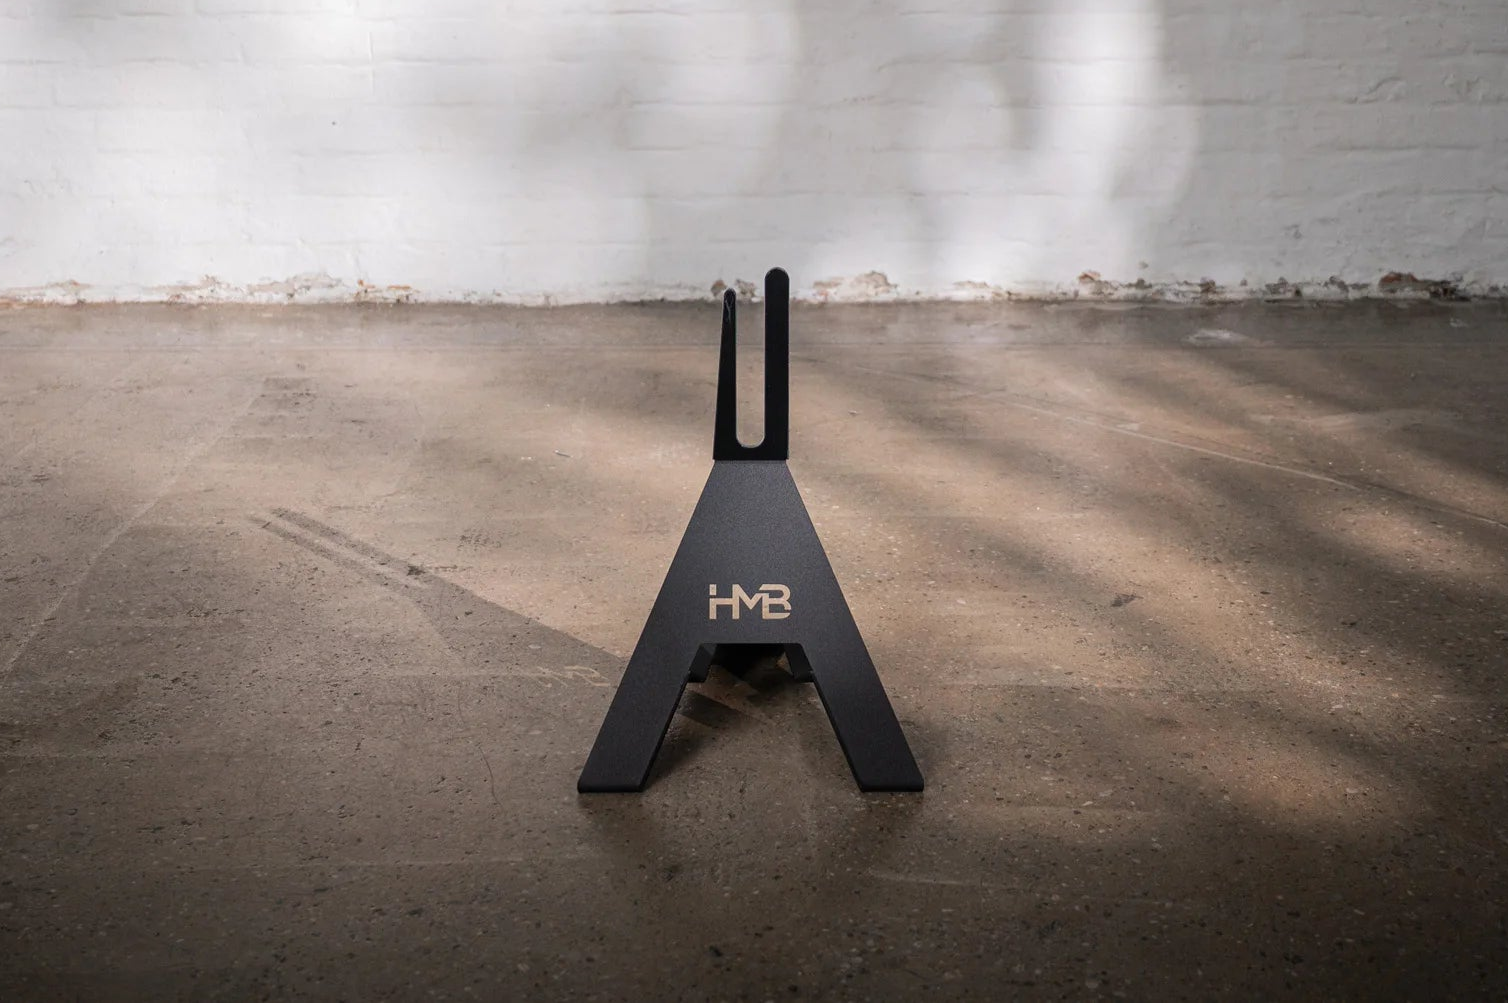
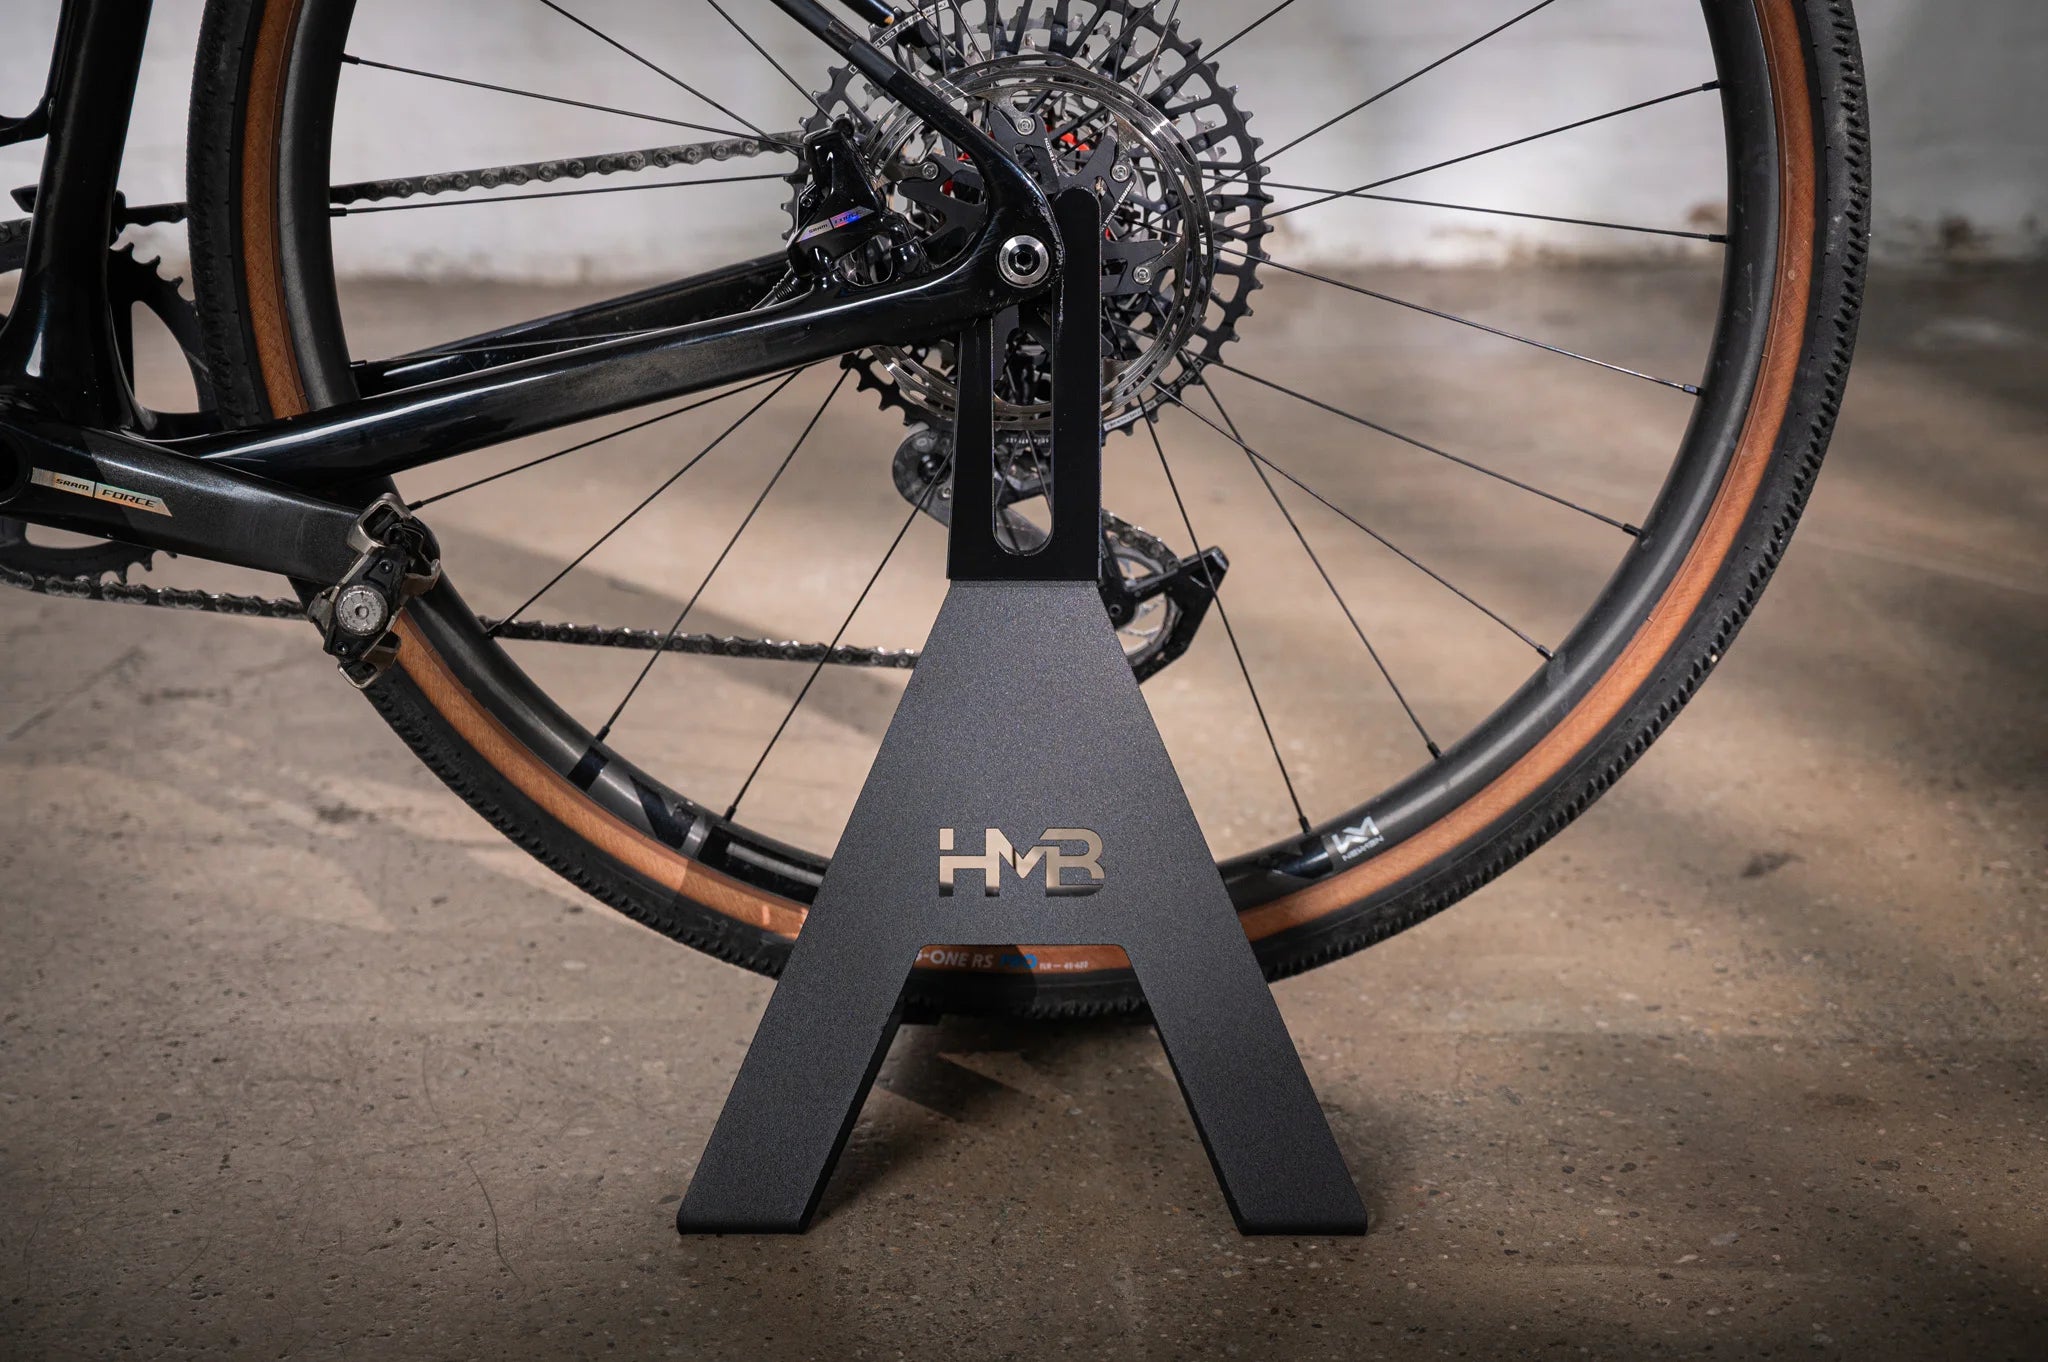
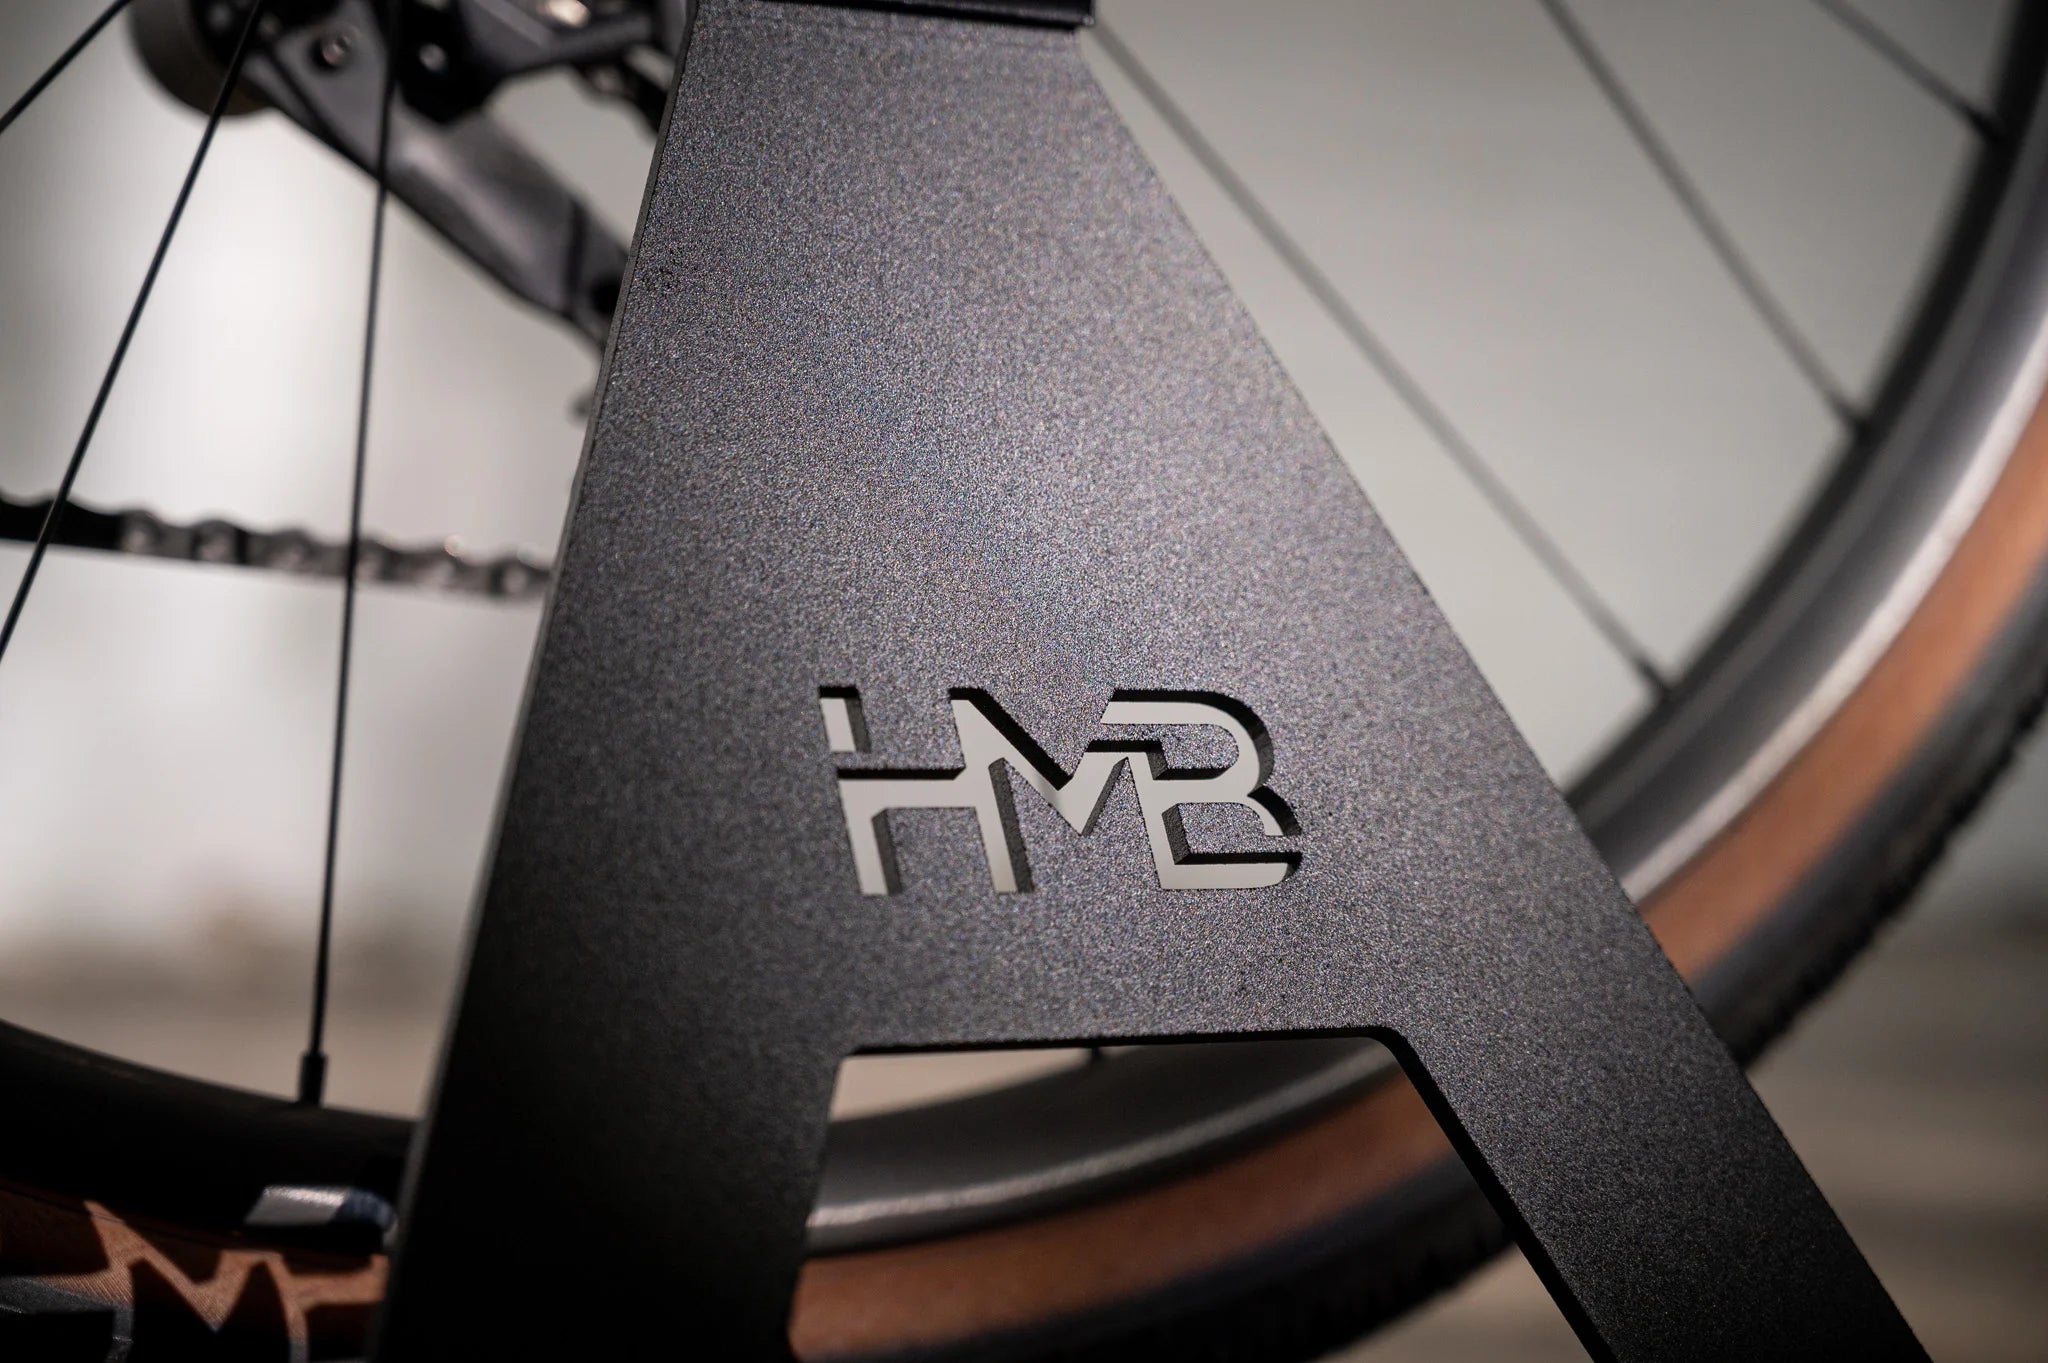
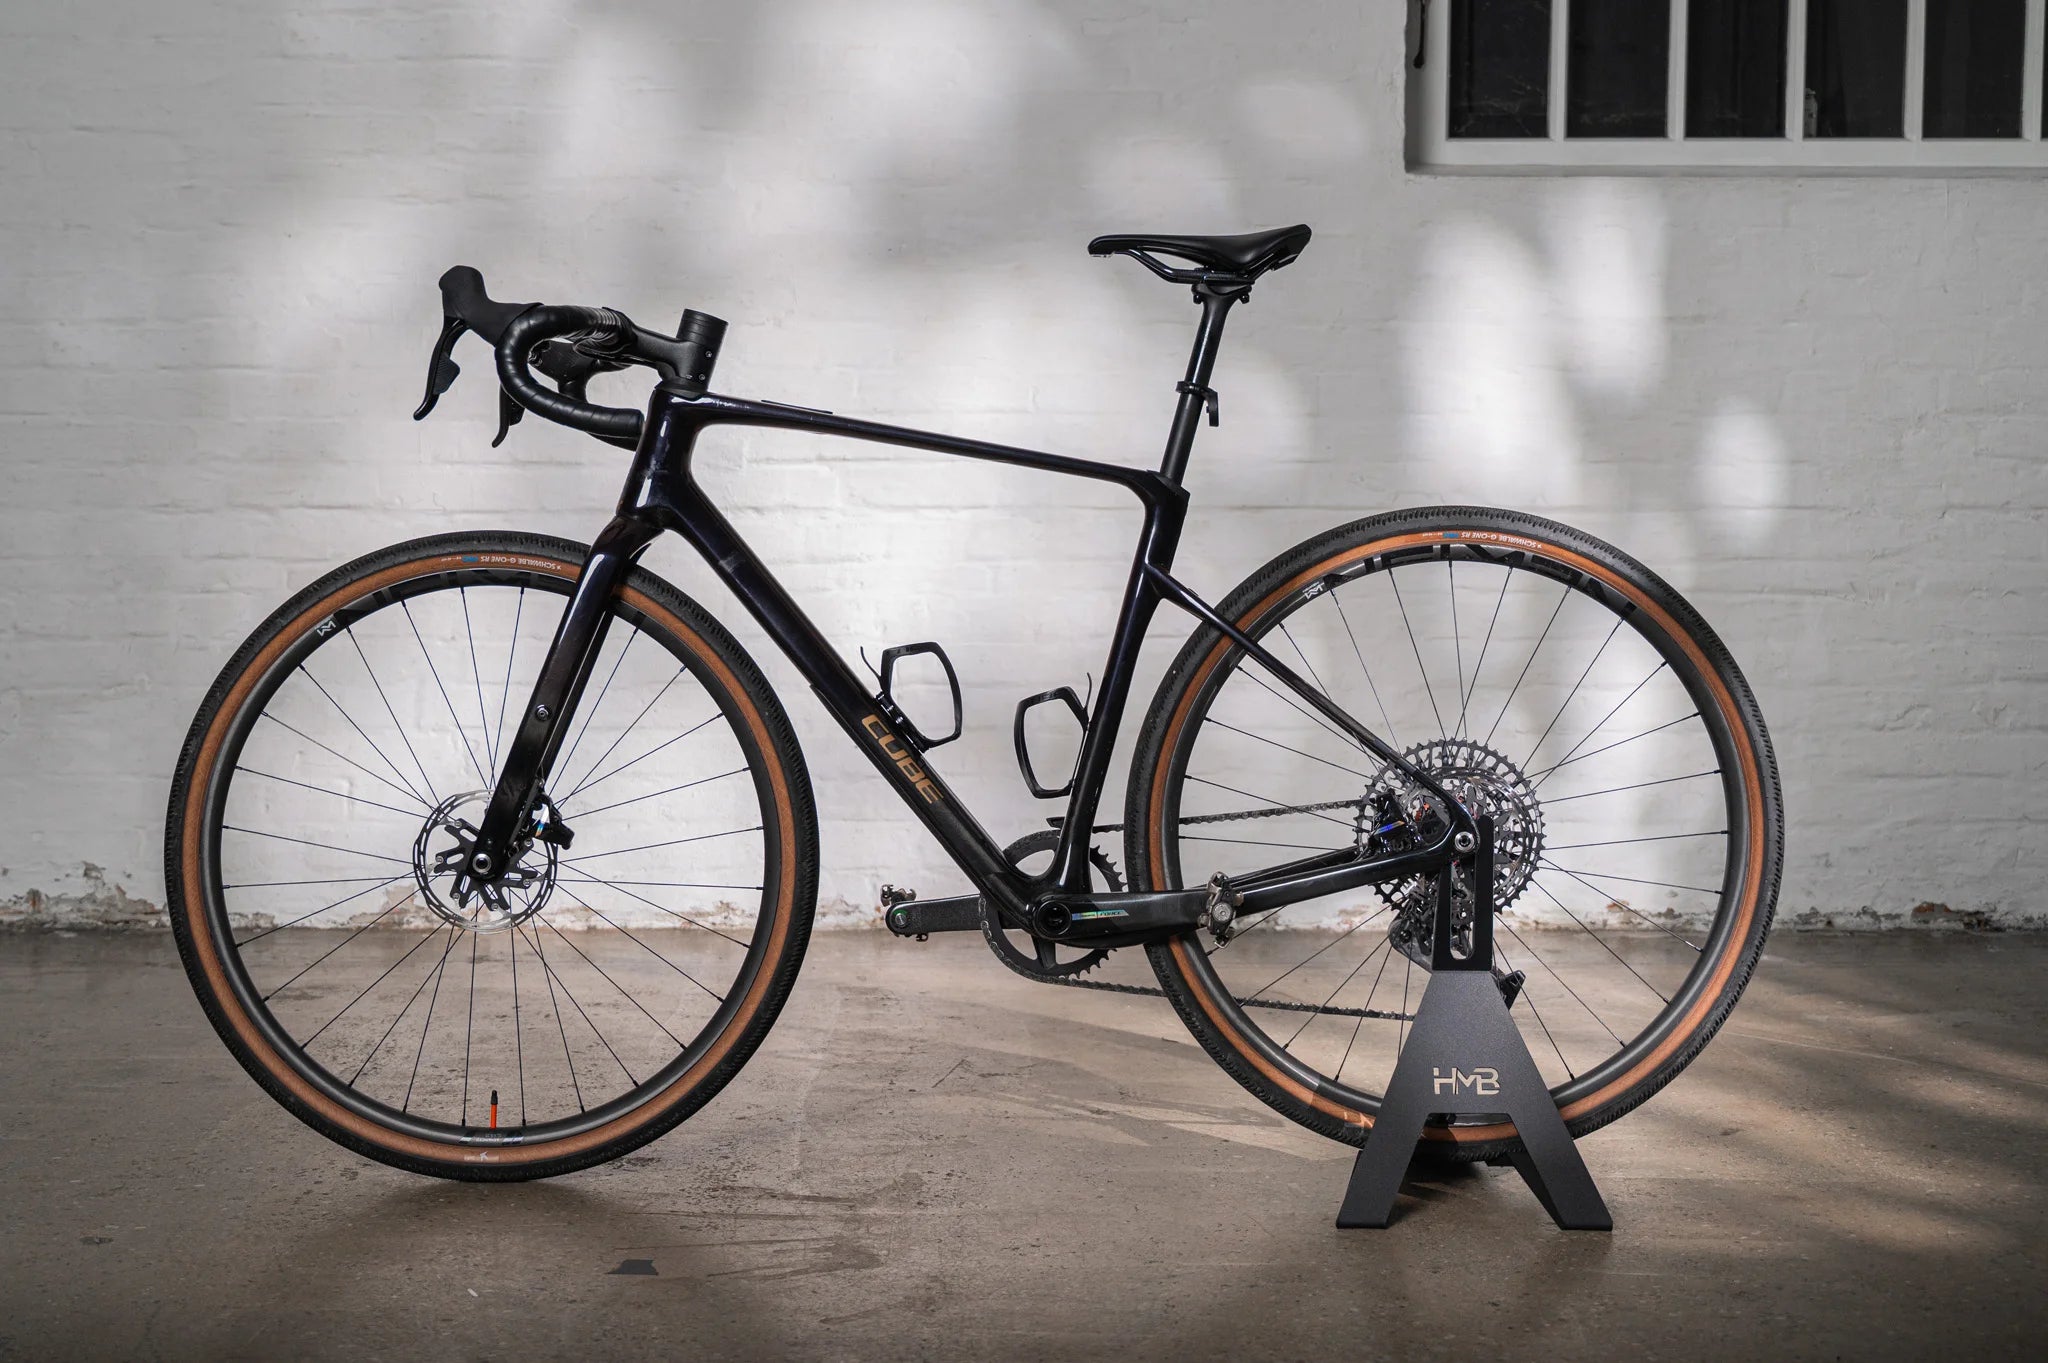
Most bike wall mounts were designed around a frame that barely exists any more.
Picture the classic diamond frame: a top tube running dead straight and level from the head tube back to the seat tube. Hang that on a couple of hooks and it sits flat against the wall, because the tube it's resting on is already flat. Simple. The trouble is that almost nobody rides that bike now, and most mounts haven't caught up.
So if your bike hangs nose-up, tail-down, or generally looks like it's halfway through sliding off the wall, the mount isn't faulty and you haven't botched the installation. You've hung a modern, sloping frame on a bracket that assumes a level one. Here's what's actually going on, and how to get the bike sitting properly straight.
// Why modern bikes don't have a level top tube
Somewhere in the late 1990s the straight top tube started to disappear. Giant's TCR, designed by Mike Burrows in 1997, popularised what became known as compact geometry: a top tube that slopes down towards the seat tube. It made frames stiffer and lighter, freed up standover clearance, and let manufacturers cover more riders with fewer frame sizes. Everyone followed, and the level top tube has been in retreat ever since.
Look along a bike-shop wall today and you'll see the slope everywhere, just to different degrees:
- Road and aero bikes carry a few degrees of slope as standard, often with dropped seatstays that lower the back of the frame further still.
- Endurance and gravel bikes slope more, thanks to taller head tubes and a more upright position.
- Full-suspension mountain bikes frequently have no straight top tube at all — the frame is kinked, dropped, or interrupted by the shock and pivots.
- Step-through and many e-bikes deliberately lower or remove the top tube for easy mounting, which is precisely the section a wall mount wants to hold.
On a compact road frame the top tube might drop five to ten degrees from front to back. On a gravel or endurance bike, more. On a full-suspension trail bike or a step-through e-bike, there may be no usable level section at all. That slope is the entire reason your bike won't hang straight — and it's designed into the bike on purpose.
// Why hooks and fixed cradles get it wrong
There are two common ways to hang a bike horizontally, and a sloping frame defeats both.
The first is a pair of hooks or a fixed cradle supporting the bike under the top tube. Because the bracket sits at one fixed, level line, the frame simply bridges it at whatever angle the frame dictates. Rest a sloping top tube in a level cradle and the bike tips — nose-down if you've caught it near the head tube, tail-down if you've caught it further back. The mount is doing exactly what it was built to do; the frame just isn't level, so neither is the bike.
The second approach is hanging the bike by a wheel from a single hook. That sidesteps the top-tube problem but brings its own: the bike hangs vertically and swallows floor-to-ceiling height, and all the weight bears down through the rim and spokes. Fine for an old commuter. Less appealing for a deep carbon wheel or a 25 kg e-bike.
This is the exact frustration you'll find cyclists describing in forum threads about the popular ring- and hook-style mounts. The summer bike with its near-level tube hangs beautifully; the compact winter trainer beside it sits at a visible angle. The usual bodges — mounting the bracket deliberately crooked to cancel out the frame, hooking a different tube, shimming one side — all fight the symptom rather than the cause. You end up with a wonky bracket holding a slightly-less-wonky bike.
// The fix: set the mount to the frame, not the frame to the mount
The way out is simple once the problem is clear. Rather than forcing a sloping frame onto a level bracket, you want a cradle whose angle you can set to the bike — so the wheels finish level even though the top tube never will.
That's the whole idea behind the HMB Tilt Mechanism on the HMB Ultimate and HMB Ultimate XL. The cradle pivots and locks anywhere across its range, so you match it to the frame in front of you and the bike hangs dead level, whatever the geometry. Set it once and it stays put.
Which model you want depends on the bike:
- HMB Ultimate suits most road, gravel, cyclocross and TT frames up to 16 kg — the bikes where the slope is real but moderate.

- HMB Ultimate XL is built for the steep and the heavy: full-suspension and downhill mountain bikes, and e-bikes up to 27.5 kg, where the top-tube angle is most extreme and there's the most weight to hold securely. It's the only wall mount on the market designed specifically for e-bikes.

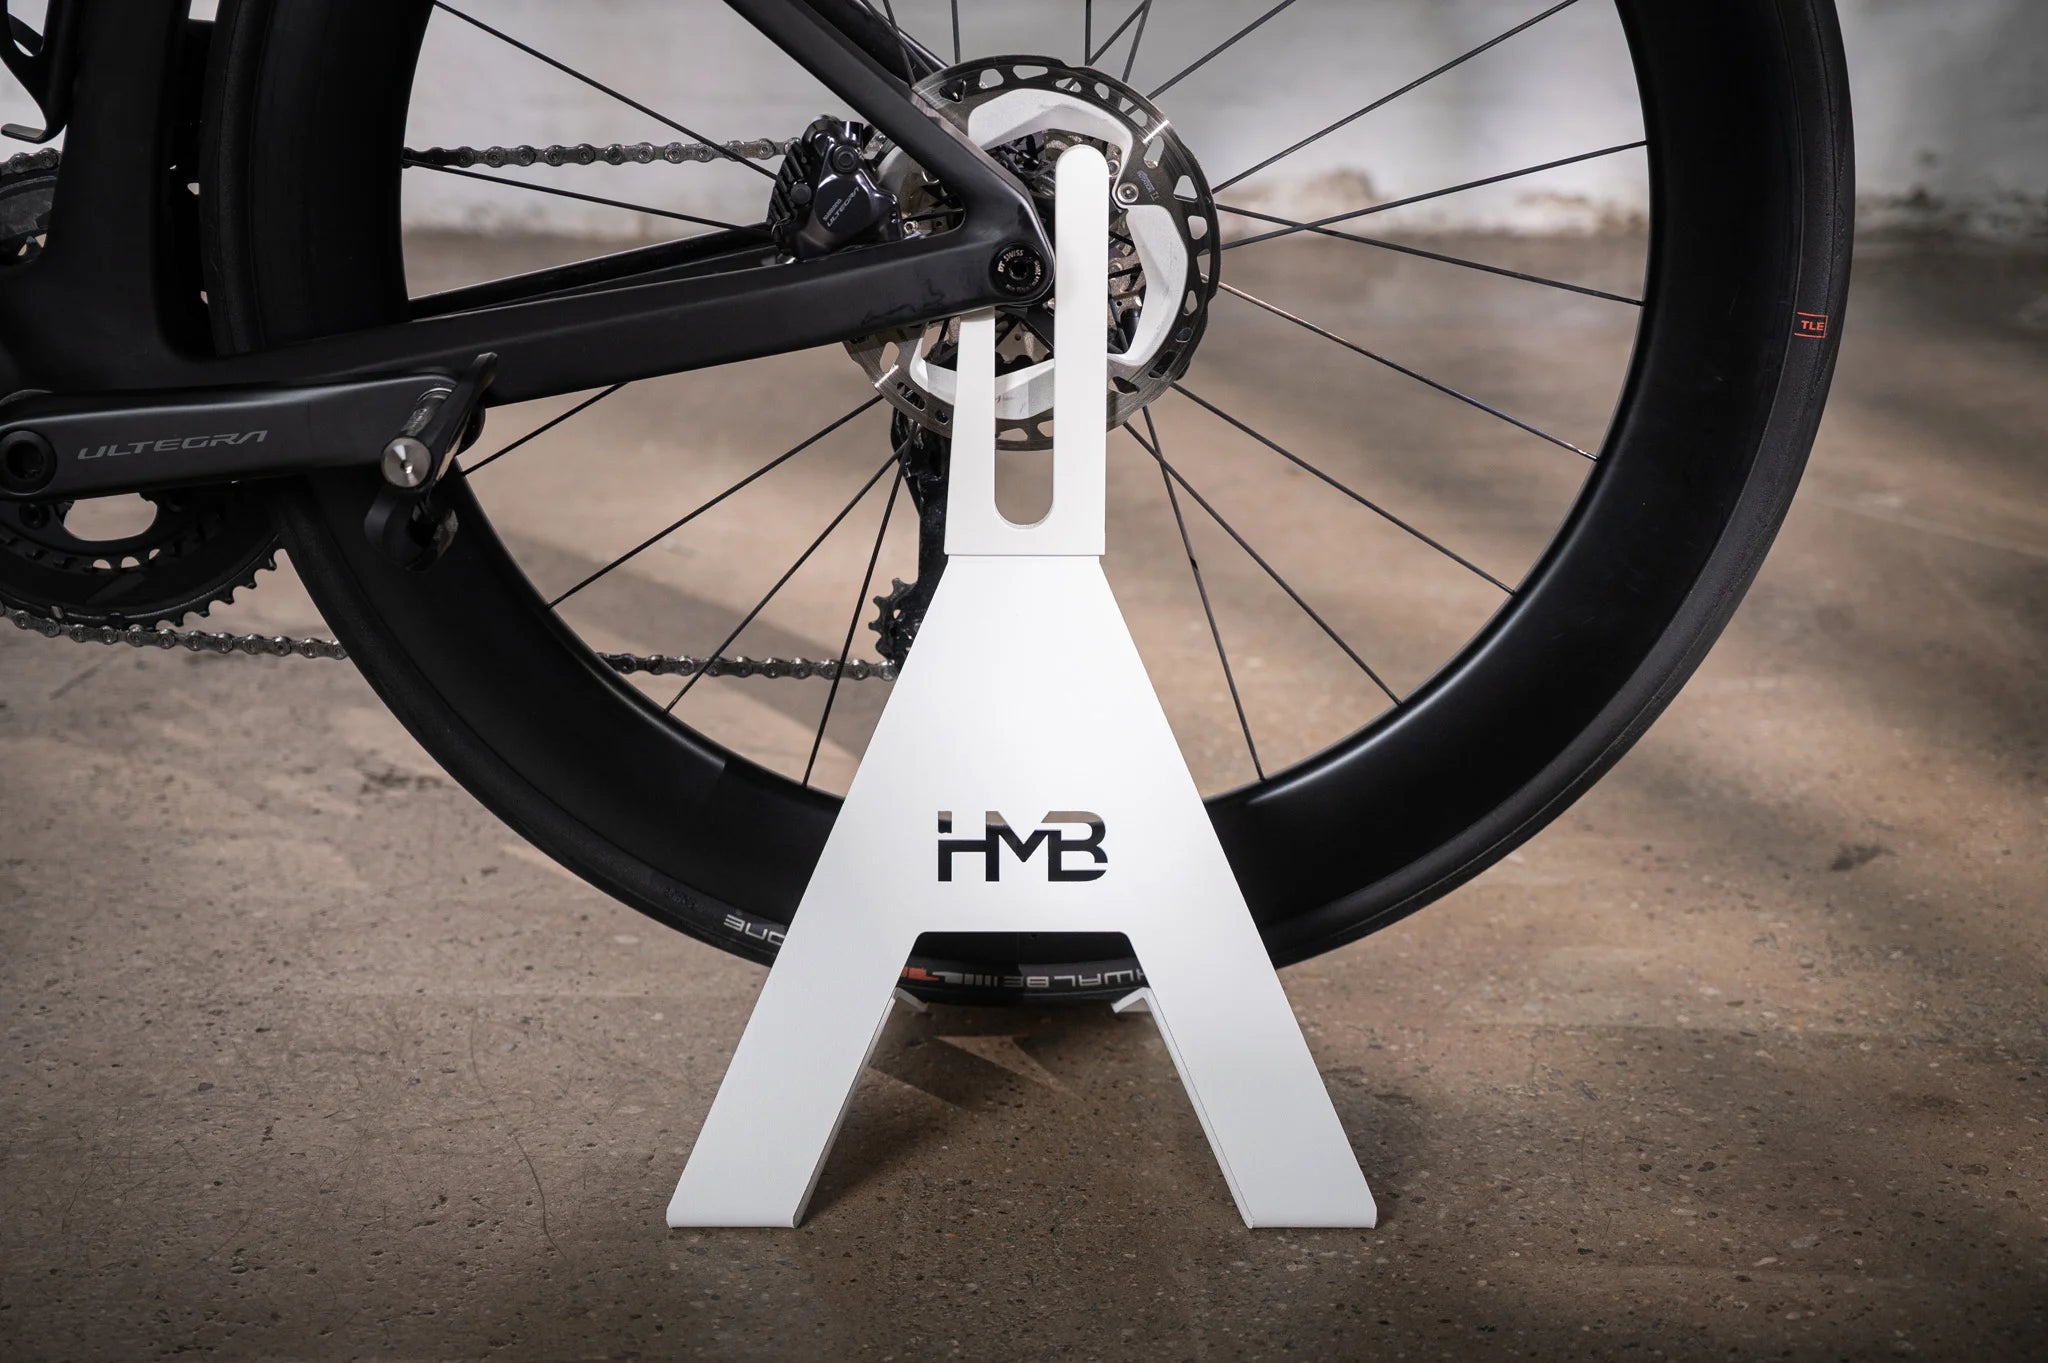
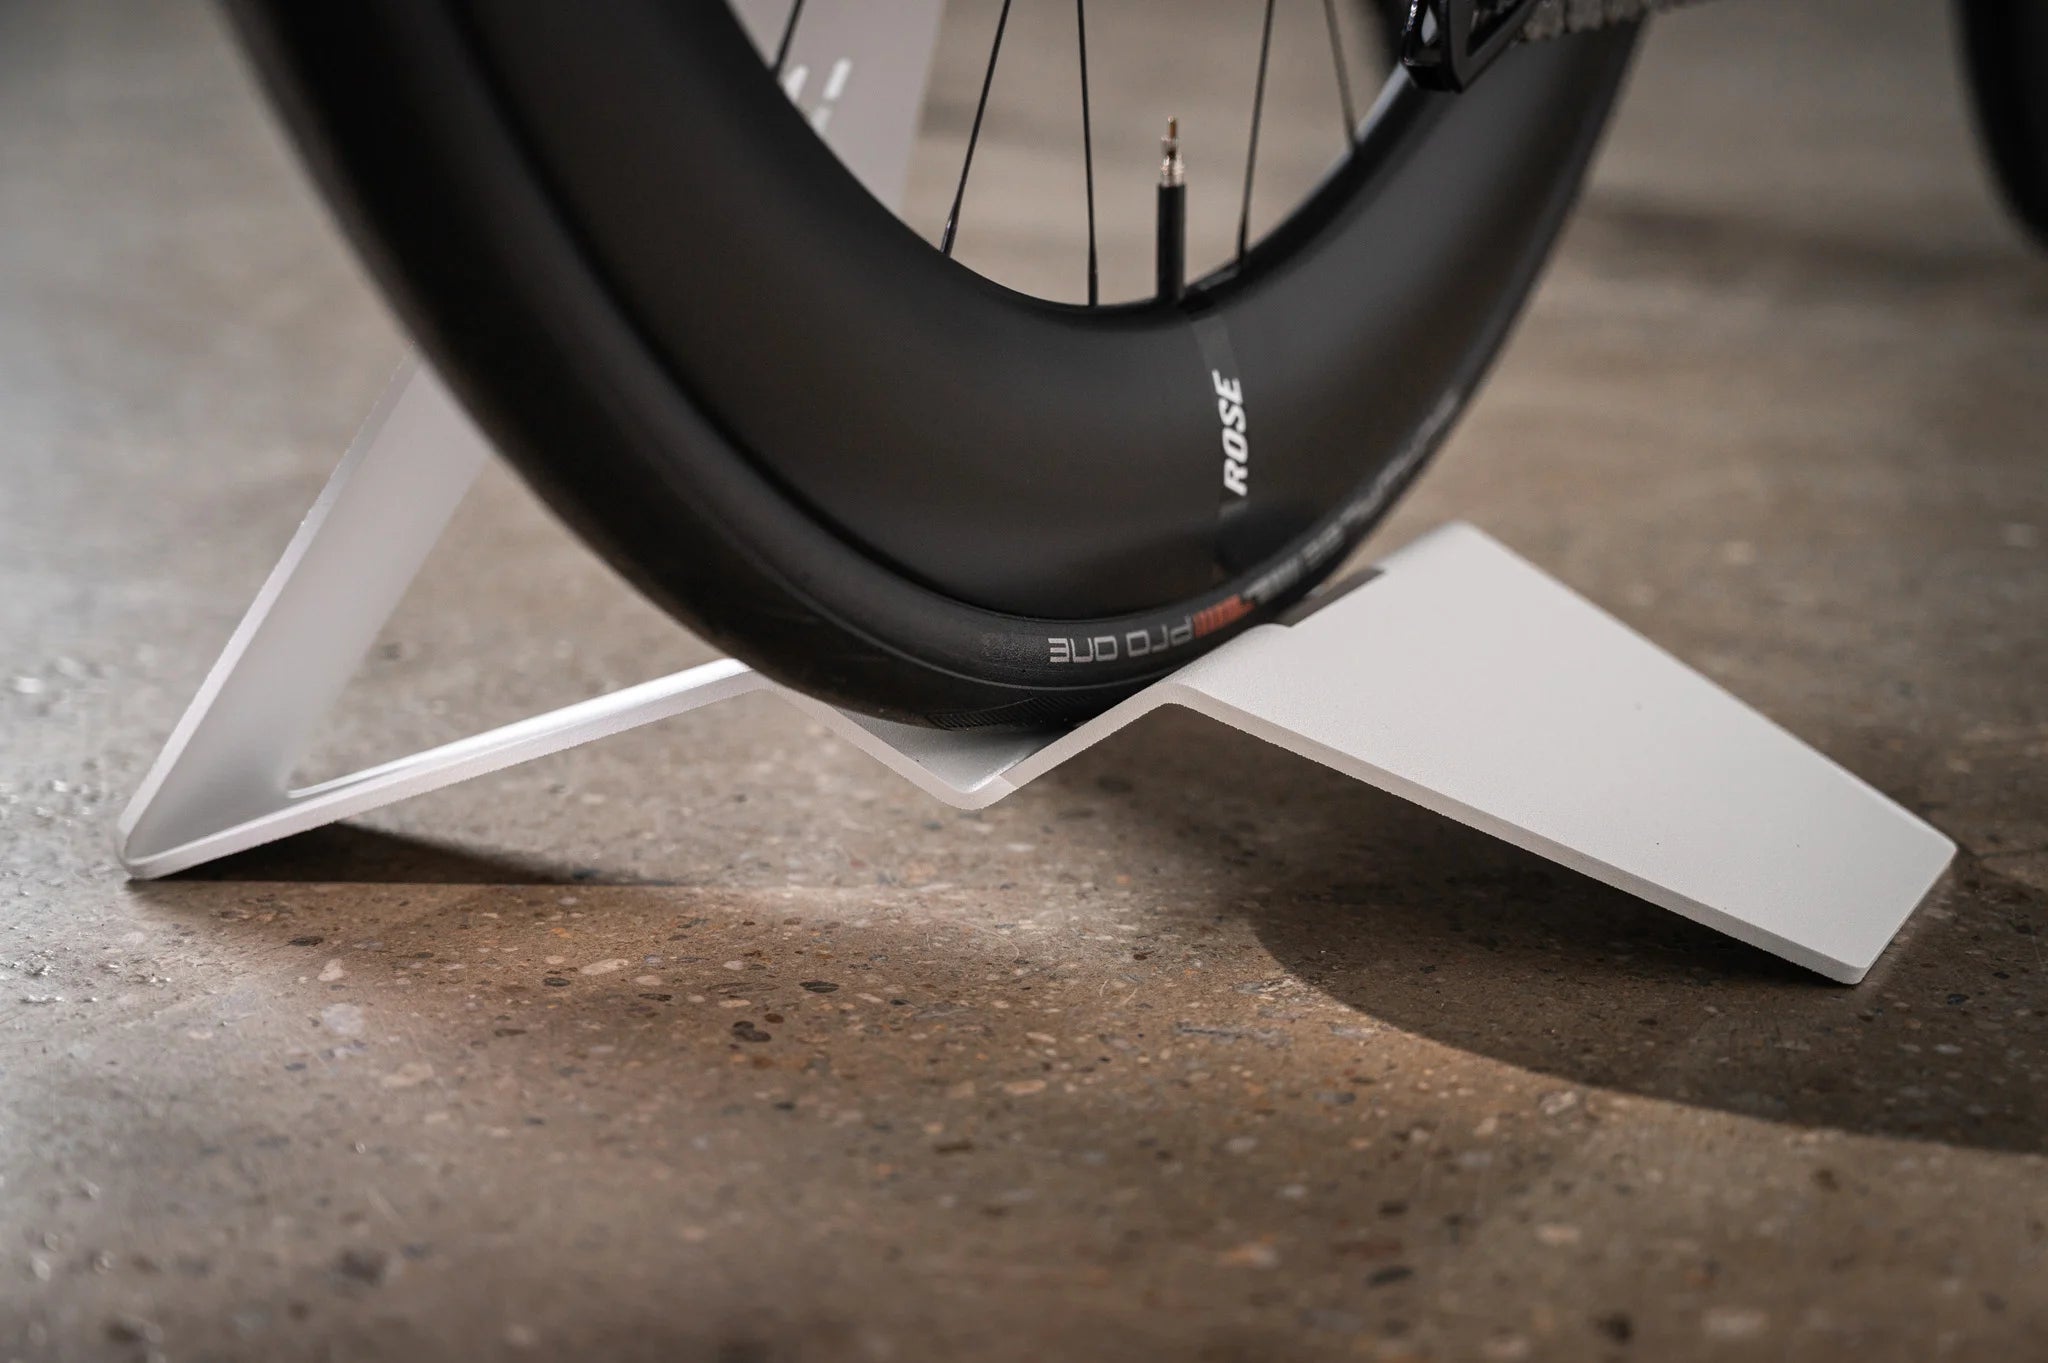
Because the bike rests in a padded cradle rather than dangling from a hook, the contact is on the frame through anti-slip padding — not on the rim or spokes — and the front wheel is kept from swinging by the included wheel strap. The result is a bike that sits level, holds still, and doesn't wear a mark where it touches.
// One mount, any bike — even next year's
To be fair, HMB isn't the only way to get a sloping frame hanging level. There are minimalist mounts built around two separate rods you fix to the wall, with the top tube resting across them. Set the two rods at the right relative height and yes, the bike will sit level.
The catch is that the angle is baked into the wall. It's set for one bike, at installation, and it stays that way. Rotate your winter trainer onto the wall, lend the spot to a mate's bike, or upgrade the frame next season, and a level tube becomes a sloping one again — so you're back with the drill, patching old holes and lining up two fixings at exactly the right offset all over again. Getting those two points aligned to the millimetre in the first place is enough of a faff that most people only want to attempt it once.
The HMB Tilt Mechanism works the other way round. The angle lives in the cradle, not in the wall, so you reset it to a different frame by hand, in seconds, without touching a single fixing. For anyone with more than one bike — and most of us are quietly working towards n+1 — that's the difference between a mount that fits the bike you happened to own on installation day and one that fits whatever's hanging on it today. It goes up once, via the HMB Easy Mounting System with the hardware already in the box; after that, the angle changes as often as your fleet does, and the wall stays exactly as you left it.
// What to check before you drill
A mount is only as good as the five minutes of planning before the first hole. Worth doing properly:
Know the frame angle: Lay a spirit level — or the level app on your phone — along the top tube and note roughly how many degrees it slopes. It tells you what you're asking the mount to accommodate, and confirms whether an adjustable cradle is the right call.
Know the real weight: Weigh the bike with the battery in, rather than guessing. Road and gravel bikes sit comfortably under the 16 kg limit of the Ultimate; e-bikes and heavier mountain bikes belong on the 27.5 kg Ultimate XL. Guessing is how people overload a mount.
Match the fixings to the wall: This matters more than the mount itself. Solid brick or concrete takes the supplied plugs and screws happily. Into a timber wall, find the studs and fix into those. Never hang a heavy e-bike on plasterboard alone — it will not end well. Every HMB mount ships with the hardware and the HMB Easy Mounting System for brick, concrete and timber-stud walls.

Set a sensible height: Hang the bike so you can lift it on and off without a fight. For heavy e-bikes, lower is kinder to your back; for a light road bike you can go higher and reclaim more floor. Leave room for the handlebars and a pedal to swing up as you load it.
// Do it once, properly
A bike on the wall is one of those things you see every day, so it's worth getting right rather than settling for "close enough". Match the mount to your frame's geometry, fix it into something solid, and the bike stops being clutter in the hallway and starts looking like it belongs there — which, given what most of us spend on our bikes, feels about right.
That's the standard behind every Hold My Bike mount: 3 mm steel, made in the EU, and engineered so your bike hangs the way it should — level, secure, and worth looking at.
Greetings from Vienna.